We often mention how to replace a micro switch but do not show testing a micro switch. Today, we will write an article to show you.
Knowing the micro switch appearance before testing
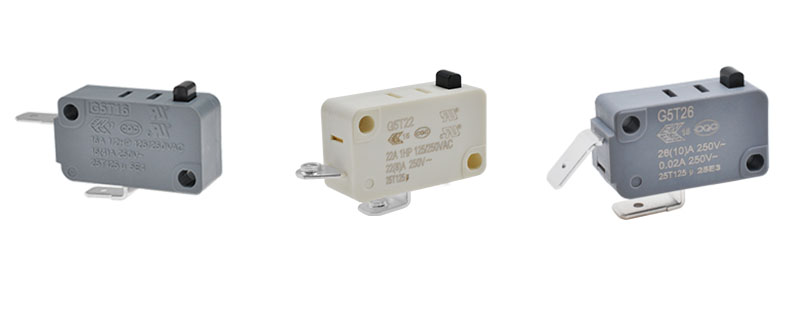
Generally, the kind of thing that can be black or grey, occasionally red ones that’s unimportant. It’s just the different manufacturers, and the only other thing to think about is that they sometimes have different ratings, which we’ll come to as we go through.

The picture shows you the different ratings are standard micro switches, although the color difference means nothing unimportant. You occasionally get red ones; what is different about them is that they have different ratings. That is a 22 or 16 Ampere of micro switch, which may be tanner normally in an electric chair.
You would have a 22 or 16A microswitch that would control the elements, and the smaller one, the 10A microswitch, would be the one that would control the switches or even the solenoid.
They all have a stamp on the side, and although it can be difficult to see, if that said, you can see the rating on the side of the micro switch. It will become difficult to see when they get older because the printing becomes yellow here.

Preliminary appearance testing
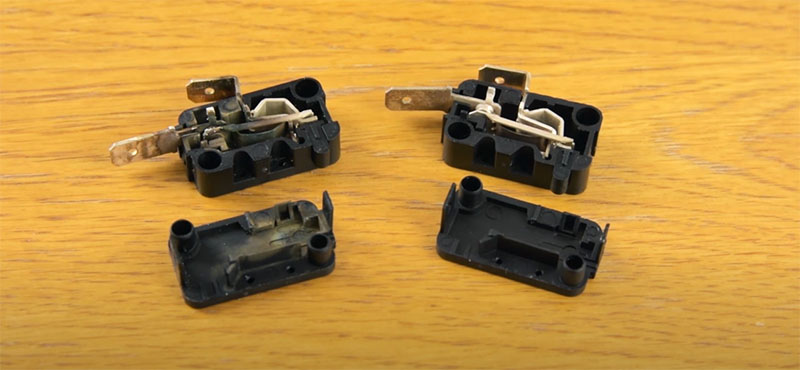
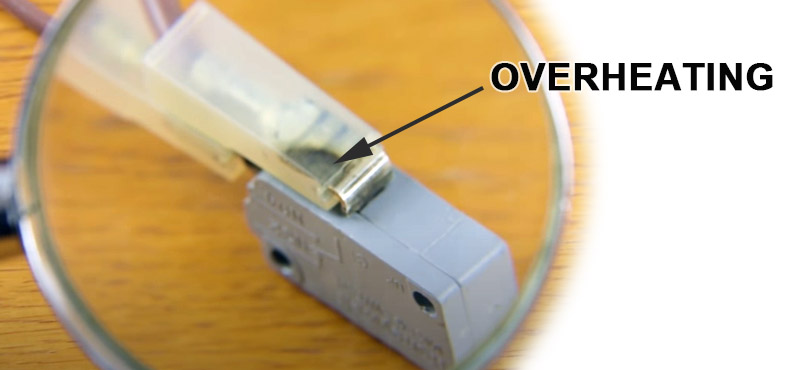
You can see two micro switches are both old, but you can see that this one is in perfect working condition. Nothing is wrong with it, but this terminal has been overheating here. The heat is going to the terminal and melting the workings.
Meanwhile, you can also see the scorched plastic, which is why the switch isn’t working when checking and testing the micro switch. It’s all to do with continuity, and if you’ve got continuity across the terminals in the switch, then the switch is normally good.

The switch is faulty if there’s no continuity when the buttons are pressed. What you can look for this thing like scorching under the terminal. So, if there’s any scorching, the switch has been overheating. And that’s often a good pointer to the fact that the switch has become faulty.
Multimeter for Testing Micro Switch
Normally what happens with the micro switches is that it goes at the top here. And then, when the buttons are pressed, the power goes out and off to see the elements or whatever this can draw. We are going to show you how to test when properly using a multimeter to test.
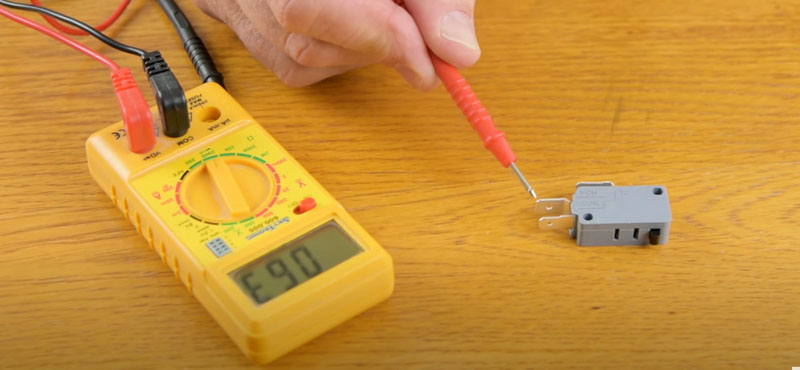
You need a multimeter for microswitch testing because you need the multimeter set to continuity.
We will list a post of the multimeter’s different settings over this particular time. And we’ll set it to continuity, which is here to test the continuation to put the 2 probes together, and it should bleep.
Testing a micro switch to know it is normal or faulty
And if they bleep, you have continuity that is the normal micro switch, and normally the power comes in the top connection here. And when the buttons are pressed, it goes out here and off to the elements so that the way to test it is the chamber of power coming here. And when the button is pressed, the power should go out in a personal power coming out, which means that the micro switch is occasionally faulty in our device.
Testing a 3-pin micro switch
You’ll find that you get a 3-pin micro switch. So it is not common when working in the same subtly as the black ones of the paranormal go in here and normally go out here. When the switches are off, this terminal here becomes like what I will do is I’ll demonstrate how this works and how to test it. This three-pin switch works the same way as the normal 2-pin one. Then the power goes in here when you click the button.

Testing a 2-pin micro switch
The power should come out here, and this one normally works out ling. For example, if you have a light that goes at an indicator light that goes out, it might be worth checking. You’ve got continuity across two switches that rarely happen because no real power goes through.
Usually, just a neon light that lets purrs, but if you have a light that goes out, you should have power here and power here when things are switched off. Now you know how to check and test a micro switch. The most common parts and say one of the things that go wrong often. So, now you have the skill, good luck.
All in all, testing a micro switch before production or repair is an important process for you. As a professional micro switch manufacturer, we also produce many kinds of switches. Please feel free to contact us to get the information; thank you.
